Digital Pinball Machine Final Build And Specs
It’s been almost three years since I started building a digital pinball machine. in 2011 I started getting really into pinball. But, I couldn’t really have a “Real” pinball machine in my apartment because of the noise. So, I decided to start building a digital version out of a custom PC, some virtual pinball software called Visual Pinball.
These digital pinball emulators really worked well and all the games that I played as a High-School and College kid were available in their original form. I could build ONE cabinet, download all the files, and have ALL the games I ever played in one box. Cool!
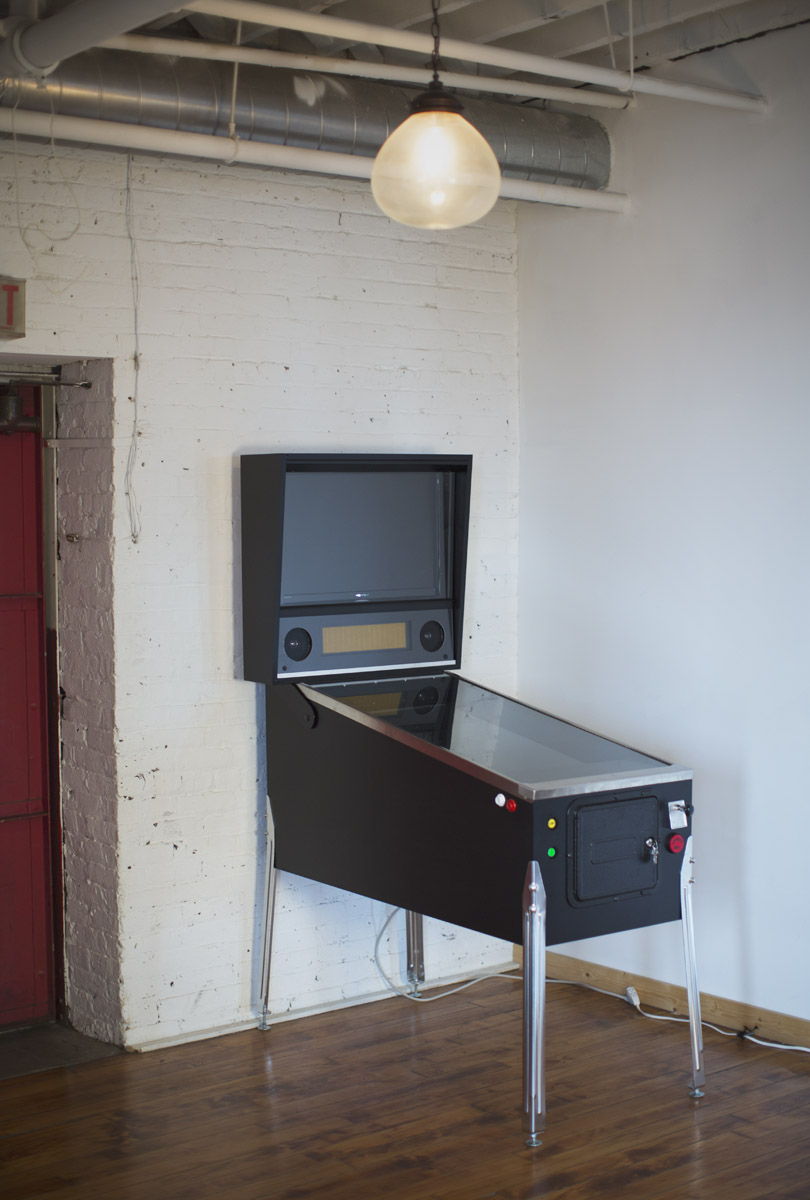
I started doing research online and seeing other videos and photos of how other people have built their machines. I even tried some other builds at the Chicago Pinball Expo. I asked a lot a questions and did a lot of research before building my own rig. Learning how to maneuver through Microsoft Windows was probably the most challenging part. I haven’t touched Windows in over 15 years so it was pretty tedious for me to learn to do even simple things like install the software and batch rename files.
More Than I Needed
I chose the parts I did for the best speed and quality. I have tried other digital pinball machines and they all had problems I didn’t want on my machine. Some had a lot of lag between hitting the buttons and seeing the flipper flip on screen. Others had put cheap TVs in their game that led to poor brightness when viewing from the side. If I was going to build a machine, I wanted it to be the best, brightest and fastest.
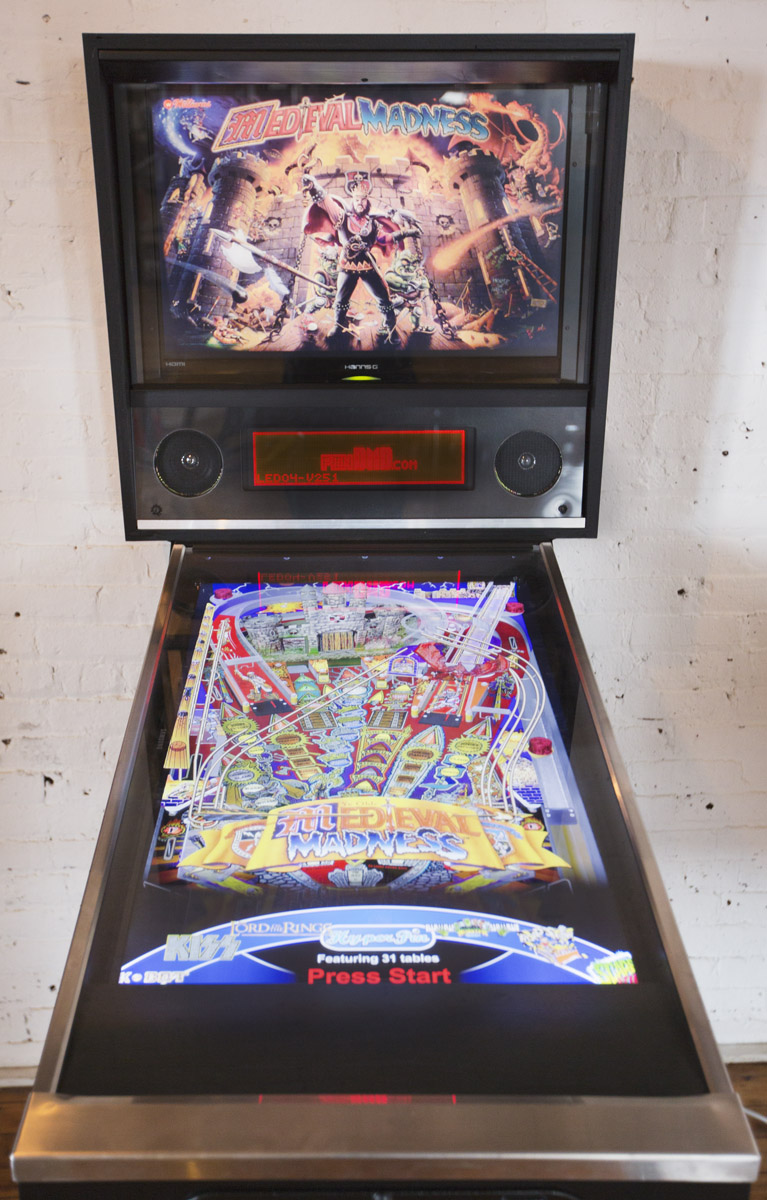
Some of the hardware used could have be scaled back, but I wanted to be sure this was as good as possible even if I had to spend a few extra hundred bucks. Here are some decisions I made to make this machine different from the other Digital Pinball Machines i tired.
Here are a few decisions I made that I think helped make the final machine much faster and better looking.
SSD Drive: This was an expensive but easy choose. the SSD Drive boots into the interface MUCH faster than a normal drive. When you launch a game, it only takes a few seconds to load. Ive seen this take over thirty seconds on slower machines.
Two NVIDIA GeForce 560 Video Cards: It’s a bit overkill, but I wanted two fast cards for displaying all the graphics. The main playfield TV is the only one that needs this much graphics power, but I wanted to have matching cards for future versions of Visual Pinball just incase they incorporate higher graphics for the back glass or DMD area.
3D TV: I chose a 3D tv not for it’s 3D capability, but because 3D TVs have brighter output and better viewing angles. This is important for this type of installation because we will be looking at the TV at at angle not typical of a normal TV. I also wanted an extra high quality monitor because we would be standing so close to the TV compared to usual TV watching.
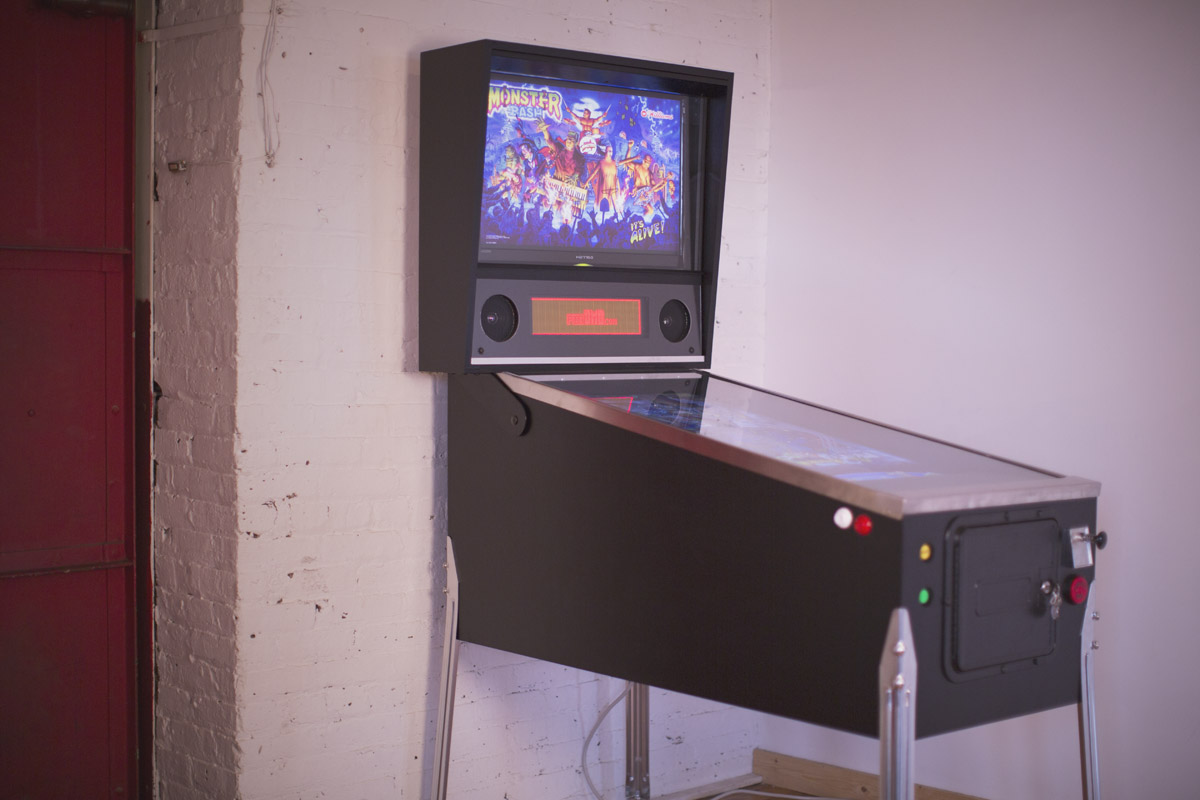
After I got all the hardware together and working, it was time to build a cabinet for it all to go in. Honestly, I was going to try and build it myself. But I just got too busy at work. So, I called on VirtuaPin to build a custom cabinet. I have seen their builds before and I knew they had experience in all this stuff. I dropped off all the TVs and other hardware and they did the rest. The final cabinet was delivered to my office all ready to boot and play.
Here is an itemized list of everything used in the final build.
Monitor Hardware
Main Monitor 40″ Samsung 3D TV
Backglass Monitor Hanz-G 16×10 27 inch.
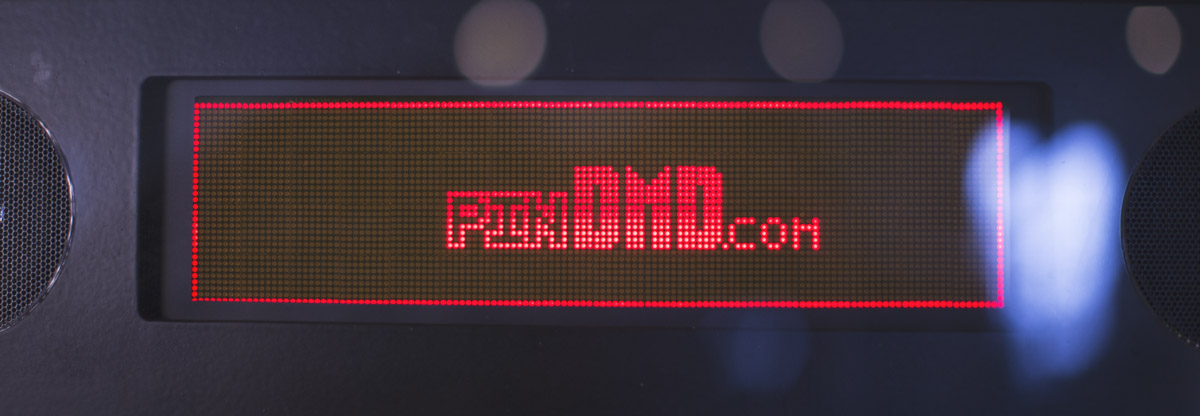
LED DMD with PinDMD Controller Board and 5v PSU
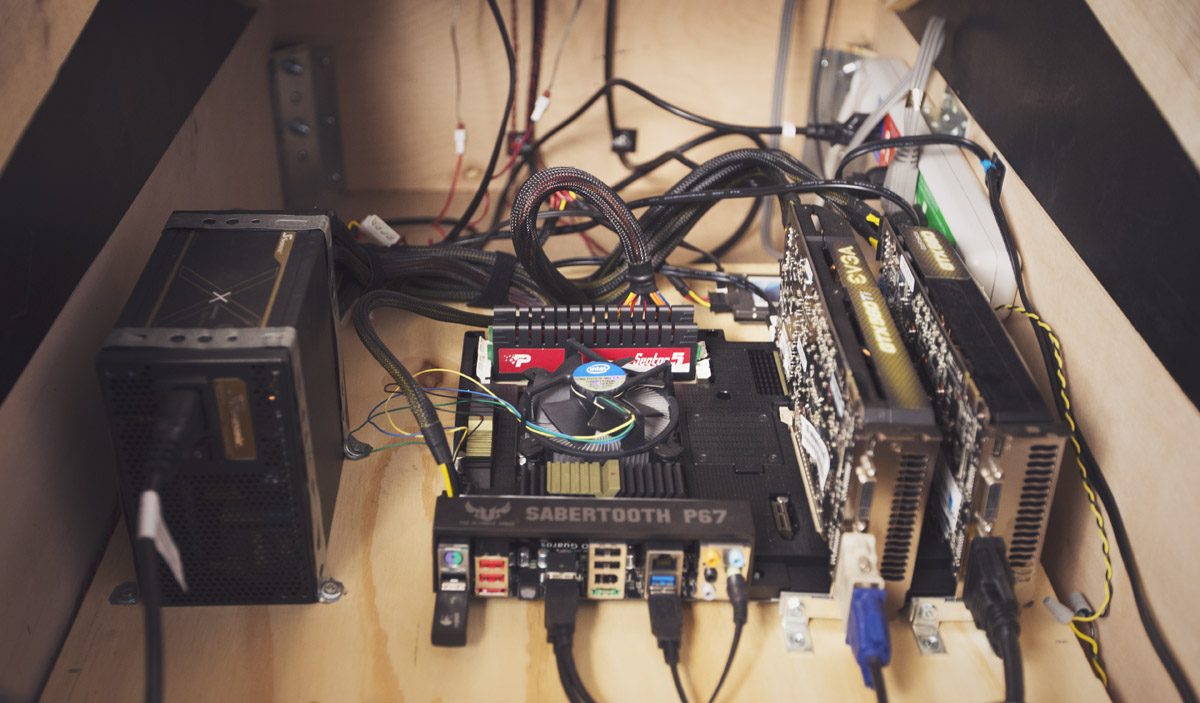
Computer Specs
Sabertooth P67 Motherboard
Crucial M4 128GB SSD
Intel i7 3.4 2600K Quad Core
4GB Ram
Logitech Wireless Keyboard
Logitech Wireless Mouse
1 NVIDIA GeForce 560 TI
1 NVIDIA GeForce 560
DMD Screen
Seasonic 760W Power Supply
Custom Cabinet by VirtuaPin
Finished Cabinet with all parts, glass, pre-wired, and backbox elements installed
Widebody – Finished – Trimmed
Ultimate Cab-Builder’s Button Kit
Terminal Block
Speaker Panel
Widebody Apron
Playfield Glass
Tempered Backglass
Power Strip with Autoswitching
2x120W Pyle® Pro Stereo Power Amplifier
PYLE PLW10BL 10-Inch 600 Watt Subwoofer
2xCooler Master 120mm Computer Case Fans with Chrome Guards
Custom Lockdown Bar
Pinball Hardware Pack Including real pinball buttons, trim, door and legs.
Software
Windows 7 Profesional
DMD Align
HyperPin
Visual Pinball
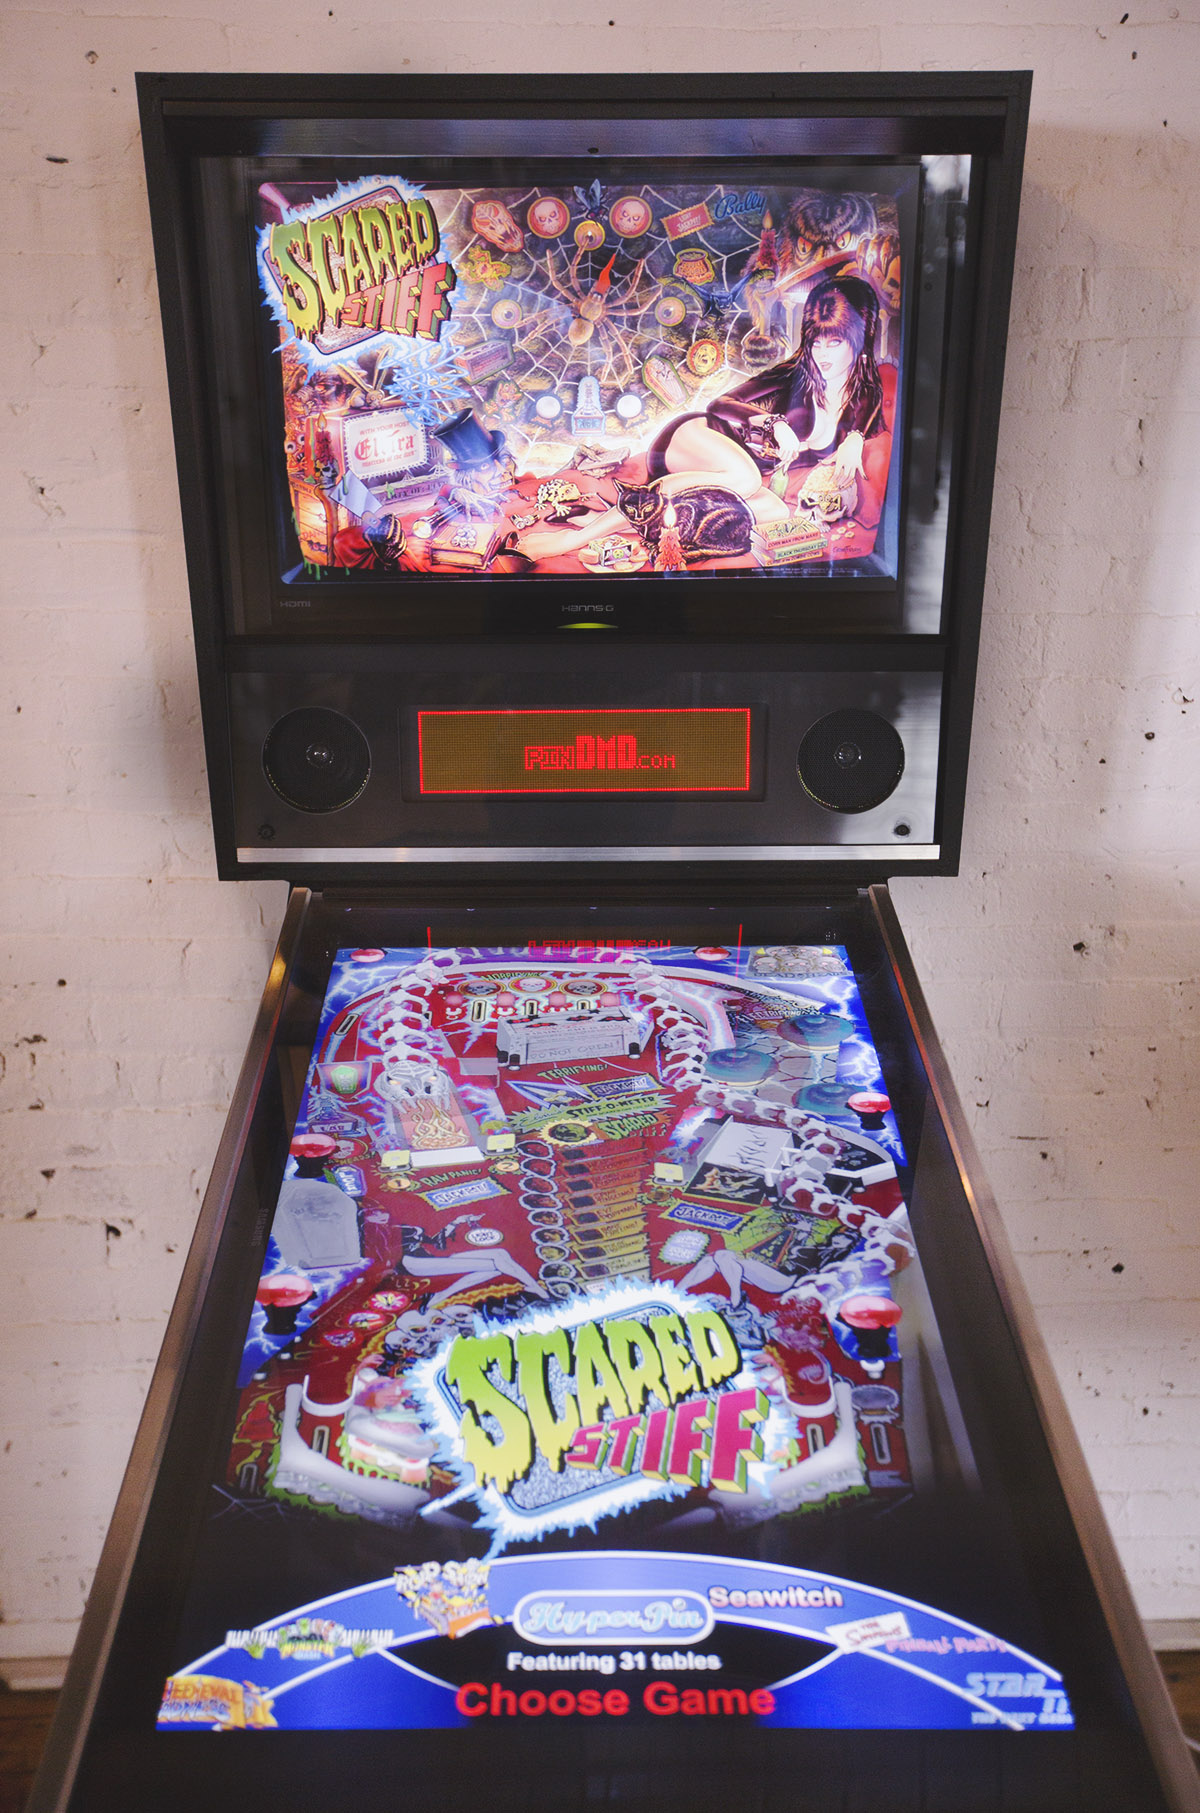
It was a really fun project to work on. But, i’m glad it’s all finished and working well now instead of a ball of wires. having it all cleaned up in one box is way more fun. 🙂 If you have any questions about it, hit me up in the comments.
How do you find the tables compare (in terms of things like physics, nudging responsiveness, weird impossible things happening, etc) to the Pinball Arcade equivalents? Some tables on PA are just great (like Scared Stuff which I see you have above) and others are kinda abysmal (like Cirqus Voltaire).
It’s pretty close to real pinball the way it plays. The Visual Pinball software also allows for nudging input from the accelerometer. It’s pretty close to Pinball Arcade actually.
I looking to buy the software and hardware to make my own pinball virtual machine .
If you sell it let me know
Thank You !
Already sold, Rodrigo. Sorry.
What do you find to be the best site is to get the different table roms, and is this type of setup capable of not displaying the DMD graffics on the back glass monitor, but only on the DMD for the solid state machine roms?
Nice pin you built. Did you build another 1? I like your equipment you used too. I just picked up an old sharp shooter 2 pin cab to retro in to a visual Pinball cab. Thank for posting….
Did you have to use the remote to turn on the tv? If not how did you have it start up with out it.